文章目录
Toggle通过HTML、CSS、JavaScript来创建一个多步骤的弹窗表单,逐步收集客户信息。每一步完成后跳转到下一步,最后提交整个表单。
示例代码(简化版):
1.前端 – 多步骤弹窗HTML和表单
function custom_multistep_popup_form() {
?>
<div id=”custom-popup” style=”display: none;”>
<div id=”step-1″>
<form id=”step1-form”>
<label for=”phone”>手机号码:</label>
<input type=”text” id=”phone” name=”phone” required>
<button type=”button” onclick=”nextStep(2)”>下一步</button>
</form>
</div>
<div id=”step-2″ style=”display:none;”>
<form id=”step2-form”>
<label for=”name”>姓名:</label>
<input type=”text” id=”name” name=”name” required>
<button type=”button” onclick=”nextStep(3)”>下一步</button>
</form>
</div>
<div id=”step-3″ style=”display:none;”>
<form id=”final-step-form”>
<!– 最后一步的其他信息 –>
<button type=”submit”>提交</button>
</form>
</div>
</div>
<script>
document.addEventListener(‘DOMContentLoaded’, function() {
setTimeout(function() {
document.getElementById(‘custom-popup’).style.display = ‘block’;
}, 3000); // 页面加载后3秒显示弹窗
});
函数 nextStep(step) {
document.getElementById(‘step-‘ + (step – 1)).style.display = ‘none’;
document.getElementById(‘step-‘ + step).style.display = ‘block’;
}
// 最终提交表单
document.getElementById(‘final-step-form’).addEventListener(‘submit’, function(e) {
e.preventDefault();
var phone = document.getElementById(‘phone’).value;
var name = document.getElementById(‘name’).value;
// 使用Ajax提交数据
var xhr = new XMLHttpRequest();
xhr.open(‘POST’, ‘<?php echo admin_url(‘admin-ajax.php’); ?>’, true);
xhr.setRequestHeader(‘Content-Type’, ‘application/x-www-form-urlencoded’);
xhr.onload = function() {
if (xhr.status === 200) {
alert(‘注册成功!欢迎邮件已发送。’);
document.getElementById(‘custom-popup’).style.display = ‘none’;
}
};
xhr.send(‘action=submit_registration&phone=’ + phone + ‘&name=’ + name);
});
</script>
<?php
}
add_action(‘wp_footer’, ‘custom_multistep_popup_form’);
2. 后端处理表单提交并发送邮件
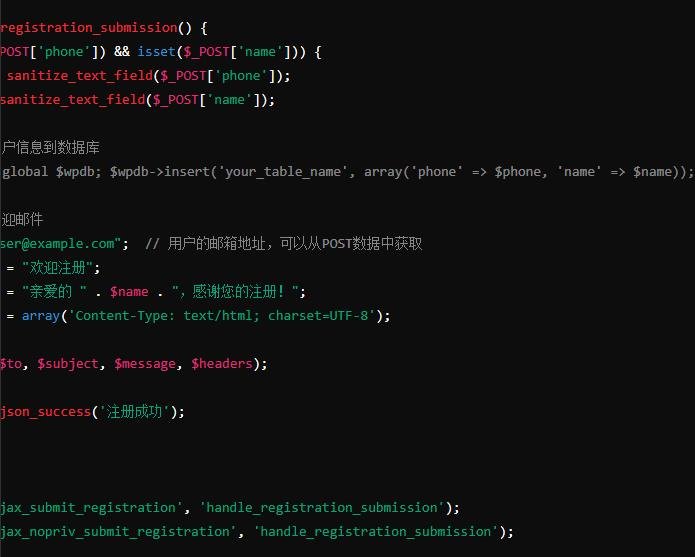
在WordPress的后端,使用wp_ajax钩子来处理表单提交,保存用户信息并发送欢迎邮件。
function handle_registration_submission() { if (isset($_POST[‘phone’]) && isset($_POST[‘name’])) { $phone = sanitize_text_field($_POST[‘phone’]); $name = sanitize_text_field($_POST[‘name’]); // 保存用户信息到数据库 // 示例:global $wpdb; $wpdb->insert(‘your_table_name’, array(‘phone’ => $phone, ‘name’ => $name)); // 发送欢迎邮件 $to = “user@example.com”; // 用户的邮箱地址,可以从POST数据中获取 $subject = “欢迎注册”; $message = “亲爱的 “ . $name . “,感谢您的注册!”; $headers = array(‘Content-Type: text/html; charset=UTF-8’); wp_mail($to, $subject, $message, $headers); wp_send_json_success(‘注册成功’); } wp_die(); } add_action(‘wp_ajax_submit_registration’, ‘handle_registration_submission’); add_action(‘wp_ajax_nopriv_submit_registration’, ‘handle_registration_submission’);
3. 邮件配置
确保WordPress邮件功能正常工作。如果本地邮件功能有问题,可以使用插件(如WP Mail SMTP)来配置SMTP服务器以确保邮件发送正常。
总结
- 插件方法:简单快捷,推荐使用WPForms等插件来实现多步骤表单并发送邮件。
- 自定义开发:可以通过HTML、JavaScript和WordPress后端钩子来自定义多步骤弹窗表单,并在注册完成后发送欢迎邮件。


